Press studs and pins from namensbaender.de

Our press studs and pins are available in various shapes, sizes and colours and are made entirely of plastic. They are robust and very easy to install using the appropriate pushbutton pliers or a hand press
The pins and the push buttons differ only in the number of individual parts. A pin only consists of half a button!
How many parts make up a push button and a pin?
A press stud set consists of 4 parts:
- 1 x push button top for the outside (cap with a mandrel - "cap"). Here you can choose between different shapes (circle, heart, star,...)
- 1 x counterpart (rivet - "stud")
- 1 x push-button lower part (cap with a mandrel - "cap").
- 1 x counterpart (socket)
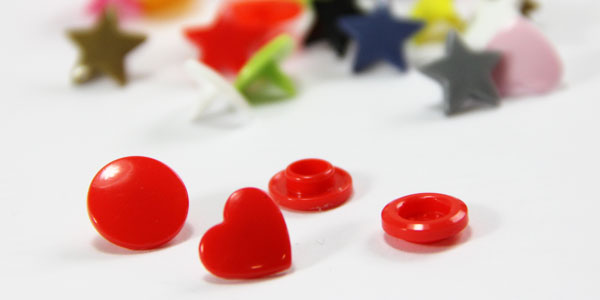
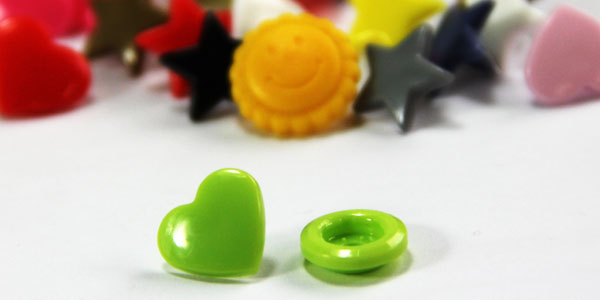
A pin set consists of 2 parts:
- 1 x pin top for the outside (cap with a mandrel - "cap"). Here you can choose between different shapes (circle, heart, star,...)
- 1 x counterpart (rivet - "stud")
For which material thicknesses are the press studs and pins suitable?
The snap fasteners and pins are suitable for fabric and artificial leather thicknesses up to approx. 2.5 mm and for leather thicknesses up to approx. 2.0 mm. However, this strongly depends on the stiffness of the material, as the material must nestle into the curvature of the cap. If you are in doubt whether the pins are suitable for your material, simply contact us or send us a sample. We would be happy to test this for you.
Mandrel length: 6 mm.
The strawberry snaps and pins are an exception. They are suitable for fabric and artificial leather thicknesses up to approx. 2.0 mm and for leather thicknesses up to approx. 1.5 mm.
What is needed to attach a press stud or pins?
- a pushbutton pliers or a hand press with the corresponding stamps
- an awl (tool for piercing holes). Supplied with the order of the pliers.
- 1 pushbutton set or 1 pin set
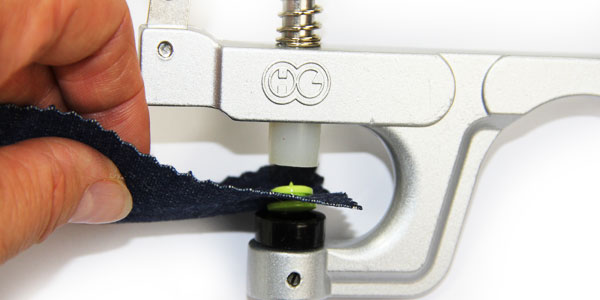
How is the button or pin attached?
1. Use a pen to mark the position of the button or pin on the material you want to use. Then use the awl to pierce a hole in the material. Avoid damaging the threads of fabrics.
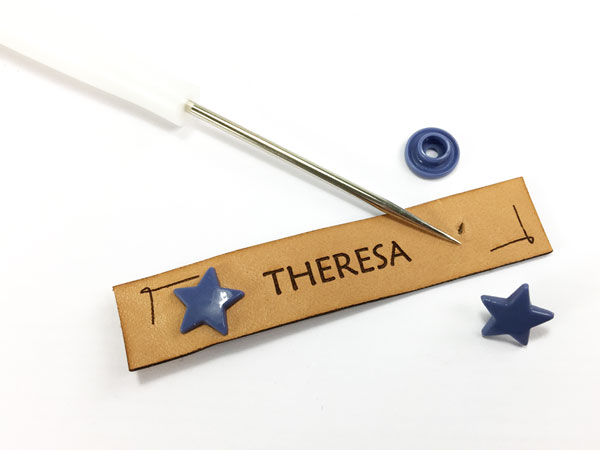
2. Push the pin of the push button or pin top through the hole of your material. With the push button or pin top you can choose a round shape or any shape like e.g. a heart, a star etc. with pin).
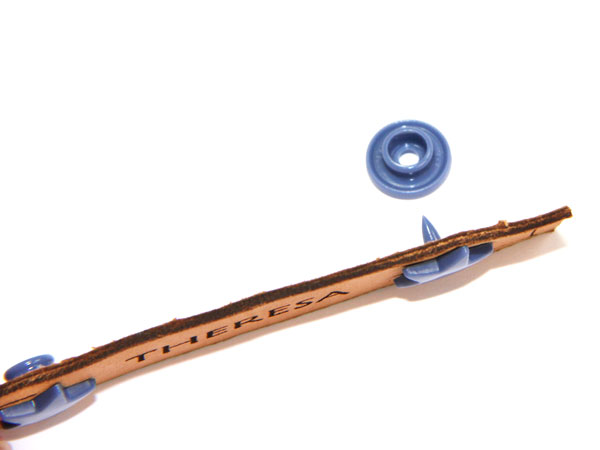
3. Now the counterpart (base) is used. Now place it on the mandrel (the flat side with the small retaining lugs is on the material) and press this part with your hand in advance.
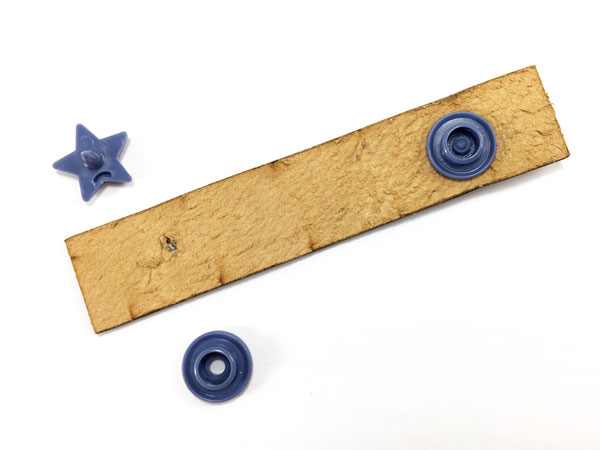
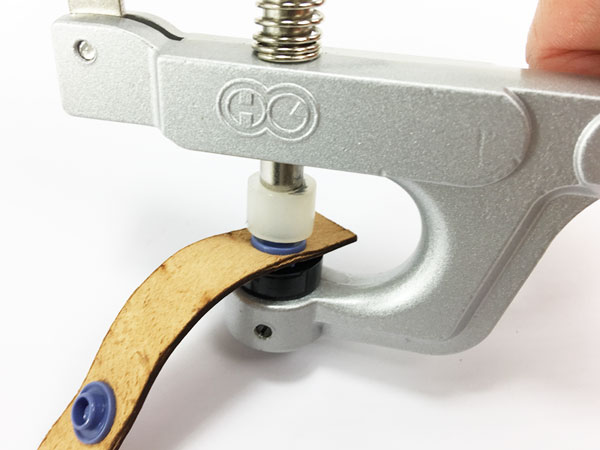
4. Now carefully take your workpiece with the two press stud or pin parts and position the press stud or pin top (cap) centrally in the lower pan of the tongs or the hand press.
Press the pliers or the press together carefully but still firmly. The mandrel of the cap is pressed flat, i.e. both parts are firmly connected.
If you use a press stud, the process is repeated with the press stud base.
Note:
For very thin fabrics it is advisable to iron on an ironing pad for reinforcement.
At the beginning it can be that the push buttons open heavily. After opening and closing several times, however, this problem disappears again.


